 Scis
ScisMoving, transforming and arranging
Everything that changes where an object sits, how big it is or which way it faces lives here: moving and scaling by hand, exact numeric transforms, aligning and stacking, live repeats, morphs, envelopes and turning a flat shape into a solid.
Shortcuts below are written in their macOS form. On Windows and Linux, read ⌘ as Ctrl, ⌥ as Alt and ⇧ as Shift.
Selecting and moving
Before you can transform anything you have to say what. Reach for these first: the selection tools decide what a drag, a numeric command or a panel field will act on.
The selection tools
| Tool | Shortcut | What it picks |
|---|---|---|
| Selection Tool | V | Whole objects and groups. |
| Direct Selection Tool | A | Individual anchor points and path segments. |
| Group Selection Tool | One object inside a group; each further click widens to the group around it. |
Shift-click adds an object to the selection or drops it again. Drag on empty canvas to marquee a rectangle, and hold ⇧ to add whatever the marquee catches to what is already selected. Double-clicking a group with the Selection Tool steps inside it so you can work on one member without ungrouping.
Moving a selection
Drag a selected object to move it. Holding ⌥ leaves a copy behind and drags that instead, which is the quick way to duplicate in place and reposition in one motion. Holding ⇧ constrains the move to 45° steps measured from the constrain angle set in Preferences, and turns snapping off; without ⇧ the selection snaps to nearby edges, centres and angles. Arrow keys nudge by the keyboard increment, ⇧ with an arrow nudges by ten times that, and ⌥ with an arrow nudges a copy.
The bounding box: scaling and rotating by hand
The selection's bounding box carries eight handles. Drag one to scale: ⇧ keeps the proportions and ⌥ scales about the centre rather than about the opposite handle. Just outside a corner the pointer enters the rotation zone; drag there to turn the selection about the box's centre, with ⇧ snapping to 45°. After a rotation the box is left tilted with the artwork. Object › Transform › Reset Bounding Box squares it up again so later width and height edits read along the page axes.
Numeric transforms
Dragging is fast but approximate. When a value has to be exact, or the same on many objects, type it. The Transform panel holds the live figures for the selection, and the Object › Transform submenu holds one-shot commands with a Copy option.
The Transform panel
The Transform panel (⇧F8) shows X, Y, W and H in pixels for the selection; type a value and press Return to set it. Below them, the ⟳ field rotates the selection by an angle and the ⧄ field shears it by one, each returning to zero once applied. The panel needs something selected; with nothing chosen it dims and says so.
The Properties panel repeats X, Y, W and H with a rotation field and two buttons that flip the selection horizontally or vertically about its own centre, so the most common moves are to hand without opening a second panel.
Move, Rotate, Reflect, Scale and Shear
Object › Transform holds the numeric commands. Each opens a small dialog, and each (except Move, which is a straight displacement) transforms about the reference point. The Copy box in every dialog applies the change to a duplicate and leaves the original untouched, which is how you build a mirrored pair or a scaled echo in one step.
| Command | Shortcut | Fields |
|---|---|---|
| Move… | ⇧⌘M | Horizontal, Vertical, Copy. |
| Rotate… | Angle, Copy. | |
| Reflect… | Axis (Horizontal or Vertical), Angle, Copy. | |
| Scale… | Horizontal %, Vertical %, Copy. | |
| Shear… | Shear Angle, Axis Angle, Copy. |
Transform Each and Transform Again
Transform Each… (⌥⇧⌘D) scales, moves, rotates and reflects every selected object about its own centre rather than the selection's shared centre. Its dialog takes Scale H and V, Move H and V, a Rotate angle, Reflect X and Reflect Y checkboxes, and Copy. Reach for it to jitter or fan out a set of objects so each one turns and grows in place instead of orbiting the group.
Transform Again (⌘D) repeats the last transform on the current selection. Move an object, then press ⌘D a few times, and you get an evenly stepped row; combine it with ⌥-dragging a copy to build repeating patterns by hand.
The transform tools and the reference point
The Rotate (R), Reflect (O), Scale (S) and Shear tools each work about a reference point, drawn as a small crosshair. It starts at the centre of the selection; click anywhere on the canvas to move it there, and selecting something else puts it back at the new centre. Then drag on the canvas to turn, mirror, scale or skew about that point.
⇧ constrains each tool: 45° steps for Rotate and Reflect, equal horizontal and vertical for Scale, one axis for Shear. Holding ⌥ during the drag transforms a copy and leaves the original. ⌥-clicking places the reference point and opens that tool's numeric dialog with the point already set, so you can spin a shape about a corner by an exact angle.
The Free Transform tool
The Free Transform Tool (E) puts moving, scaling, rotating, shearing and two kinds of distortion on one bounding box. Drag inside the box to move it, drag a handle to scale, and drag just outside a corner to rotate, with ⇧ snapping to 45°. Use it when you want to try several kinds of change in one gesture without switching tools between each.
The widget
A small widget floats beside the box with four buttons, each naming itself when you hover over it: Constrain, Free Transform, Perspective Distort and Free Distort. Constrain makes scaling proportional without holding ⇧; with it on, ⇧ frees the proportions instead. The two distortion modes leave only the four corner handles to pull on.
Distorting from the keyboard
You can reach the same distortions without leaving the default mode. Hold ⌘ on an edge handle to shear along that edge. Hold ⌘ on a corner to distort it freely on its own; add ⇧ to constrain the corner's travel to 45°. Hold ⌘⌥⇧ on a corner for perspective, where the neighbouring corner mirrors the drag. Pressing or releasing a modifier part way through a drag switches the action at once, and the name it ends on, Scale, Shear, Perspective Distort or Free Distort, is what the step is called in the History panel afterwards. Type, placed images and symbol instances cannot be distorted; they are left as they are, and Scissor tells you so when a drag skips them.
The reference point
The reference point sits in the middle of the box as a crosshair, and you can drag it anywhere; on its own it moves nothing. The box then rotates and scales about it, and it travels with the artwork when you move the selection. Drop it near one of the box's nine points (the four corners, the four edge midpoints or the centre) and it settles onto that point. Holding ⌥ while scaling ignores a placed reference point and scales about the centre.
Aligning, arranging and grouping
These commands set how objects line up with one another, which sits in front of which, and which ones are collected, locked away or hidden while you work on the rest.
Align and distribute
The Align panel (⇧F7) has three rows. Align Objects lines the selection up left, centre or right, and top, middle or bottom. Distribute Objects spreads three or more objects so their tops, centres, bottoms, left edges, centres or right edges fall at even intervals. Distribute Spacing sets an equal gap between them vertically or horizontally. The menu on the panel chooses whether everything aligns to the selection or to the board. Aligning needs at least one object (a single object aligns to the board); distributing needs three, and the panel greys those buttons until you have them. The six alignments also appear under Object › Align.
Arrange: stacking order
Every object sits at a level in the stack, and Object › Arrange moves the selection through it.
| Command | Shortcut |
|---|---|
| Bring to Front | ⇧⌘] |
| Bring Forward | ⌘] |
| Send Backward | ⌘[ |
| Send to Back | ⇧⌘[ |
Grouping, locking and hiding
- Group (⌘G) and Ungroup (⇧⌘G)
- Collect objects so they move and transform as one, or release them again. A group can be entered by double-clicking it with the Selection Tool.
- Lock › Selection (⌘2) and Unlock All (⌥⌘2)
- Locking makes objects unpickable so they stay put while you work over them; Unlock All frees everything that was locked.
- Hide › Selection (⌘3) and Show All (⌥⌘3)
- Hiding takes objects off the canvas without deleting them, which clears a busy scene down to the part you are editing; Show All brings them back.
Live repeats
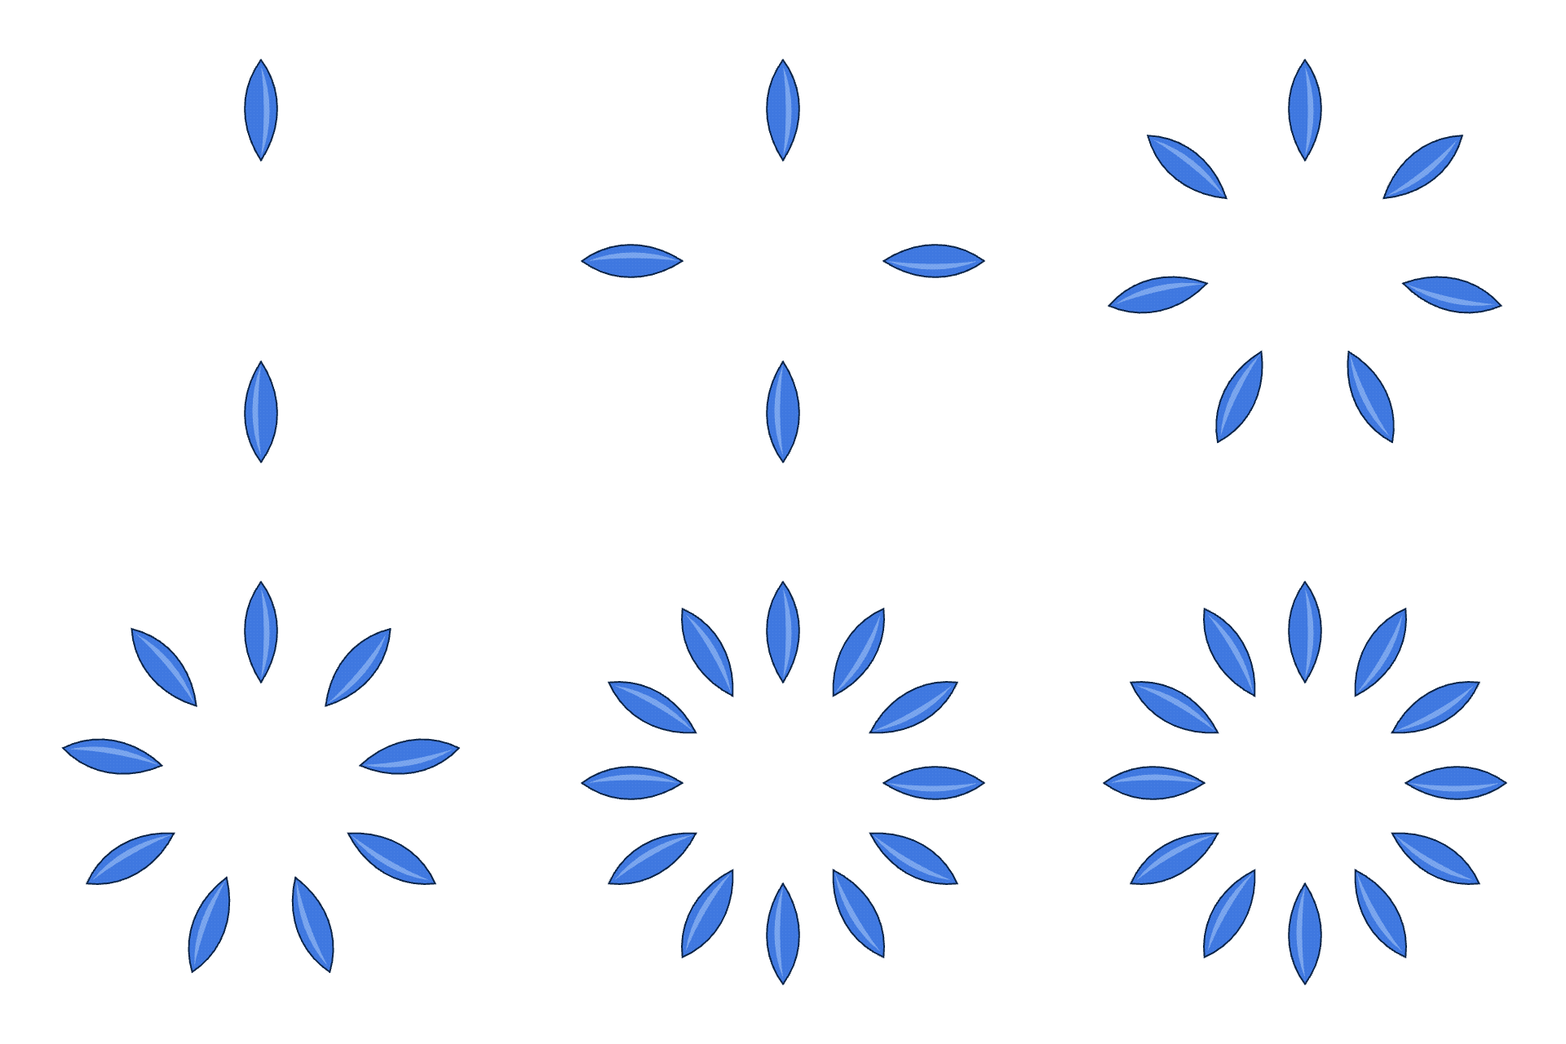
Object › Repeat builds many copies from one object and keeps them live: edit the original and every copy follows. Reach for a repeat when the artwork is regular, a flower of identical petals or a tiled grid of icons, so you can shape one element and let the rest track it.
- Radial…
- Rings the copies around a centre. The dialog sets Instances and Radius.
- Grid…
- Lays the copies in rows and columns. The dialog sets Columns, Rows, Horizontal Spacing and Vertical Spacing.
- Mirror…
- Reflects the copies across an axis. The dialog sets the axis (vertical or horizontal) and an Offset.
With a repeat selected, the Properties panel exposes the same controls for later tuning: instances and radius for a radial repeat; columns, rows and horizontal and vertical spacing for a grid; and the offset and mirror axis for a mirror. Release turns the copies into ordinary, separately editable artwork when you are done.
Morphs
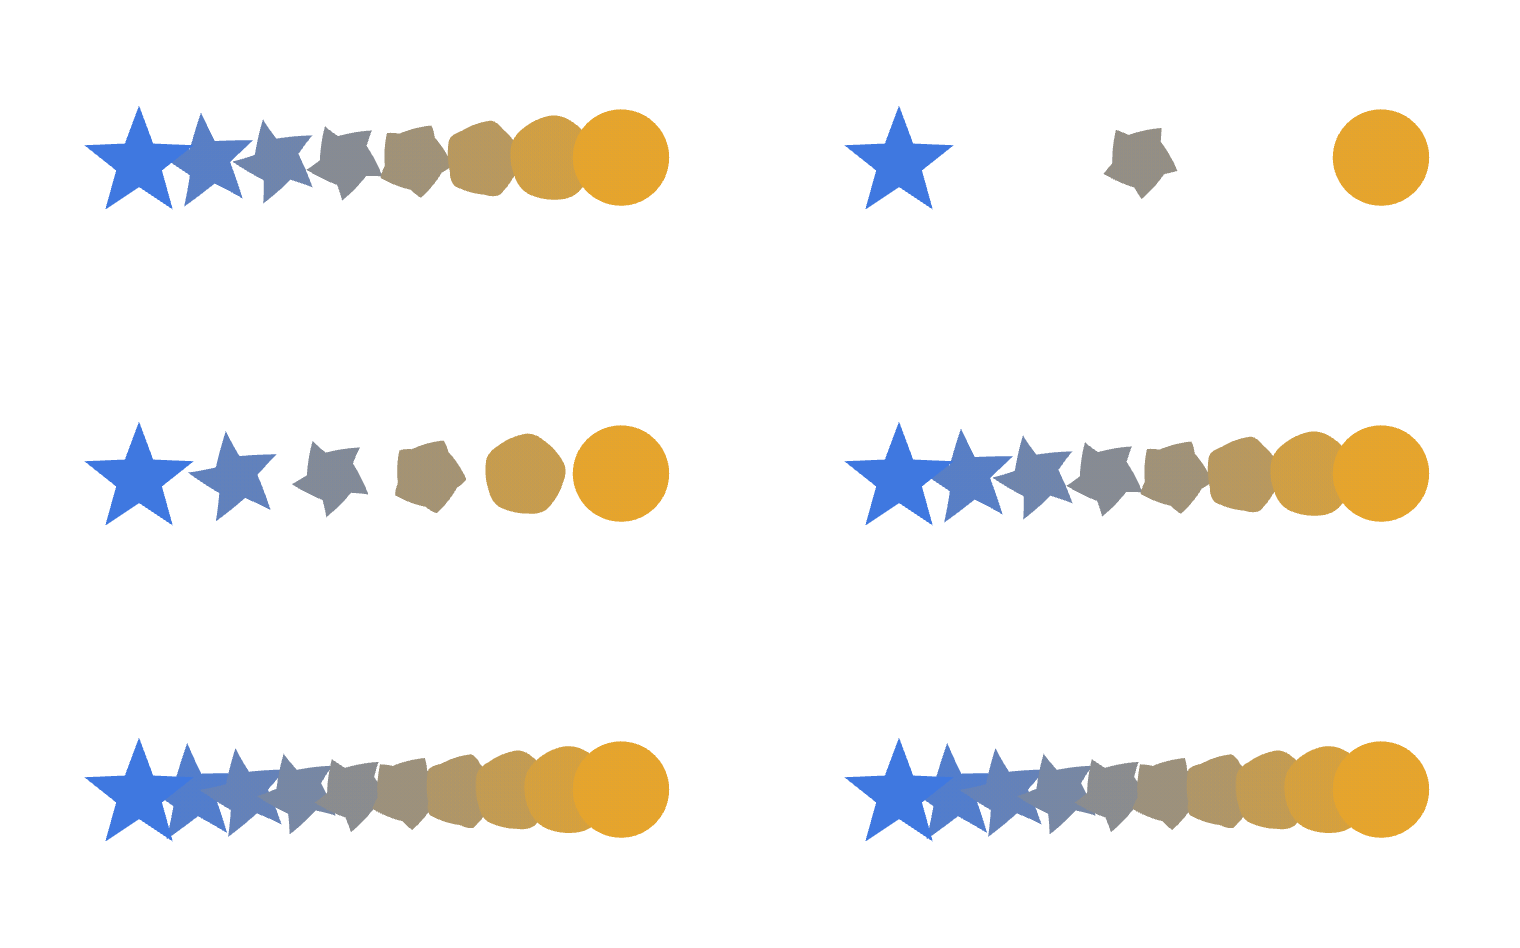
A morph fills the gap between two objects with a series of in-between shapes, each a step closer to the next. It is the tool for shaded transitions between colours and for evenly spaced repeats along a path.
The Morph Tool (W) morphs one object into another: click the first, then the second. Clicking a third carries the chain on, and clicking into an existing morph adds that object to it. Object › Morph holds the rest:
| Command | Shortcut | What it does |
|---|---|---|
| Make | ⌥⌘B | Morphs the selected objects together. |
| Release | ⌥⇧⌘B | Gives back the key objects and drops the steps. |
| Morph Options… | Sets spacing and orientation (see below). | |
| Expand | Turns the in-between steps into real, editable objects. | |
| Replace Spine | Bends the run of steps along a selected path. | |
| Reverse Spine | Swaps which end of the spine each key object sits at. | |
| Reverse Front to Back | Flips the stacking order of the steps. |
Morph Options… sets Spacing to Specified Steps (a fixed number of in-betweens), Specified Distance (a fixed gap in pixels, filling as many as fit) or Smooth Color (as many steps as it takes for a smooth colour blend), and sets Orientation to Align to Page or Align to Path. A morph stays live and follows its key objects, so editing either end reflows the whole run.
Shape Warp
Object › Shape Warp bends artwork to fit a shape while keeping it editable underneath. Use it to fit a logo to a banner, curve a line of type, or push a flat pattern into a bulge. There are three ways to make one.
- Make with Warp… (⌥⇧⌘W)
- Bends the selection with one of the built-in warp styles (Arc, Arch, Bulge, Flag, Wave, Fish, Rise, Fisheye, Inflate, Squeeze and the shell and arc variants), controlled by Bend, Horizontal and Vertical amounts.
- Make with Top Object (⌥⌘C)
- Uses the frontmost selected shape as the envelope and pours everything below it into that outline. Needs two or more objects: the container on top, the artwork beneath.
- Make with Mesh… (⌥⌘M)
- Lays a grid of the rows and columns you ask for over the selection. It stays live: switch to the Direct Selection Tool (A) and drag any crossing of the mesh to bend what it holds, as often as you like.
Release gives the artwork back as it was, along with the envelope shape; Expand keeps the bend and drops the envelope, leaving distorted paths.
3D from a vector shape
Effect › 3D and Materials turns a flat shape into a solid. It stays a live effect, so the original path is still there to edit, and the copy on screen rebuilds whenever you change it.
- Extrude & Bevel
- Gives the shape depth, with a bevelled edge if you want one.
- Revolve
- Spins a profile around an axis into a turned form.
- Inflate
- Puffs the shape up as though it were filled.
- Plane
- Tilts the flat shape in space without adding depth.
The 3D and Materials panel turns the object on the X, Y and Z axes, sets the light's rotation and height, and picks a plastic, matte or metal surface, with Depth and Bevel fields for the extrude.